Masks and Borders
This guide is to demonstrate how to add a mask and/or border to images in your designs.
To make the most of masks .jpeg images are the best to use.
Other formats such as .png and .pdf do not have full function within this tool.
How to add a mask
Firstly select your image.
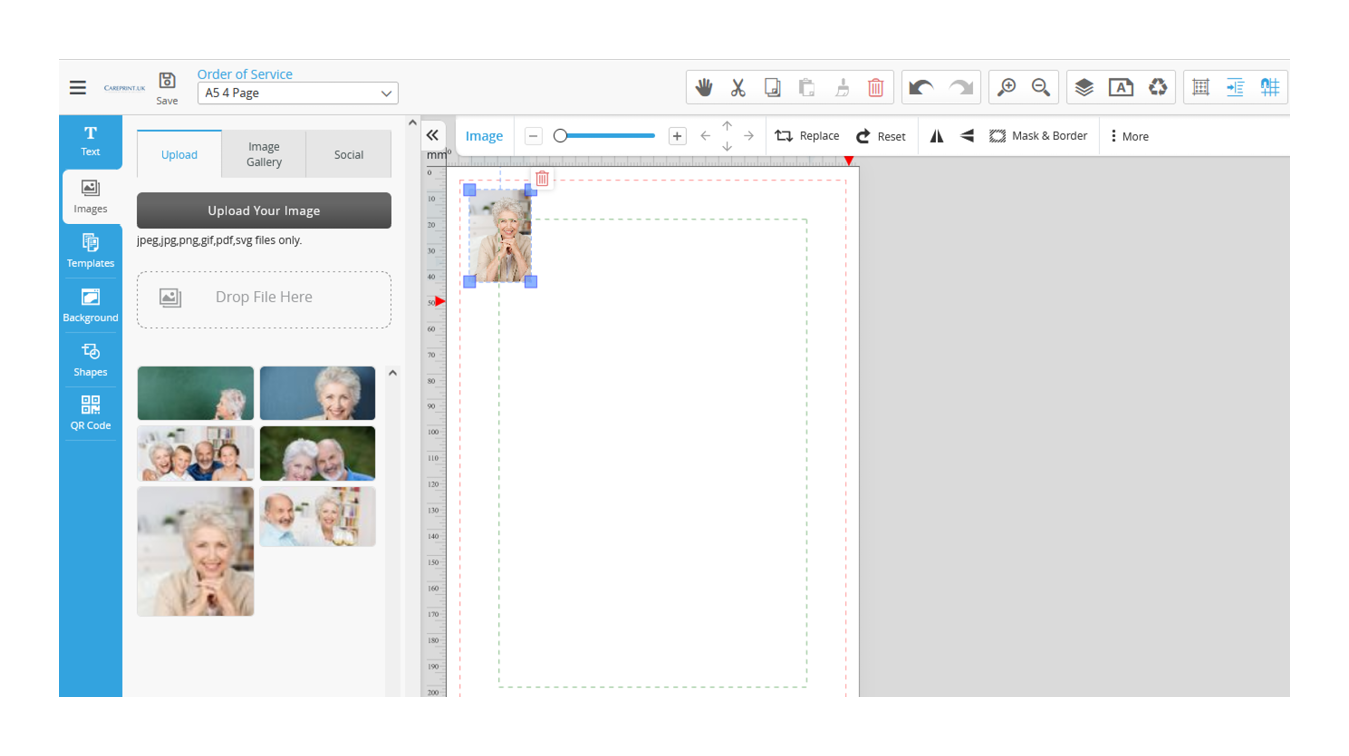
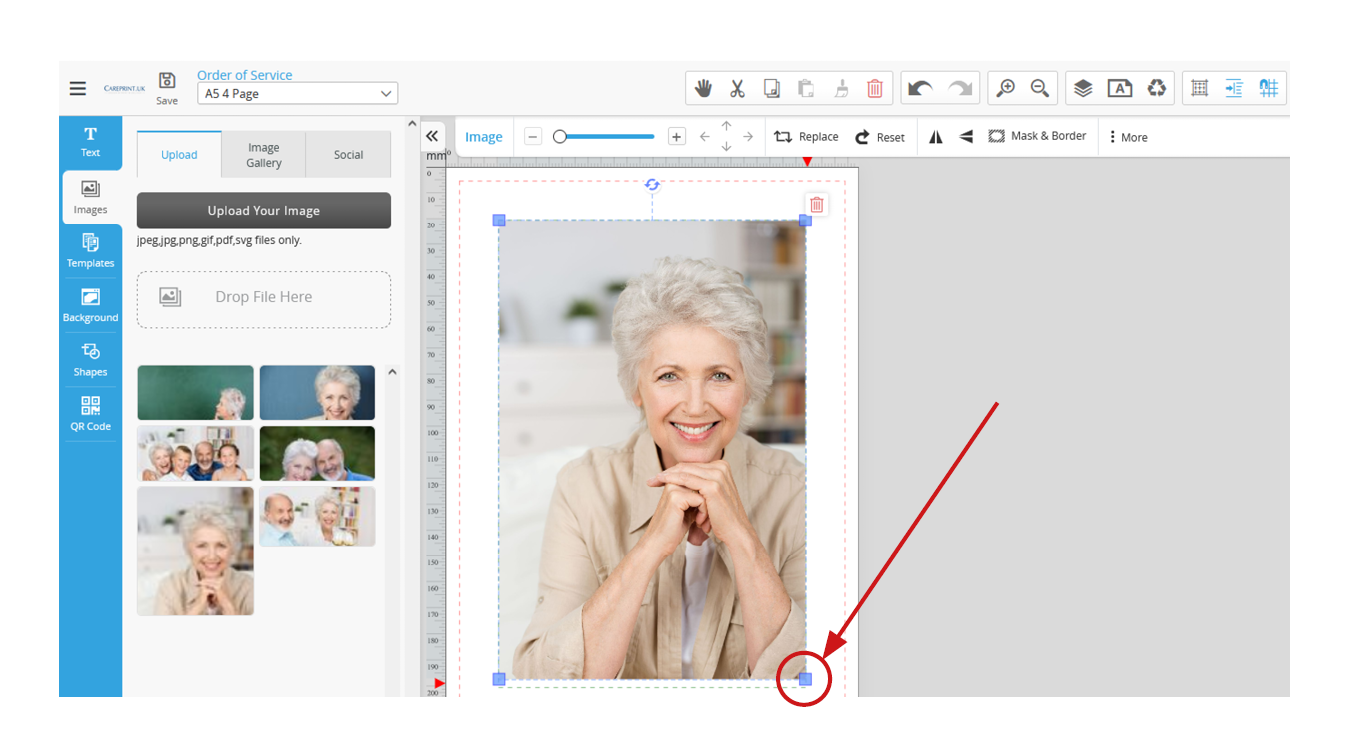
For this demonstration the size has been enlarged.
- You can do this by clicking one of the blue corners and dragging out to your desired size.
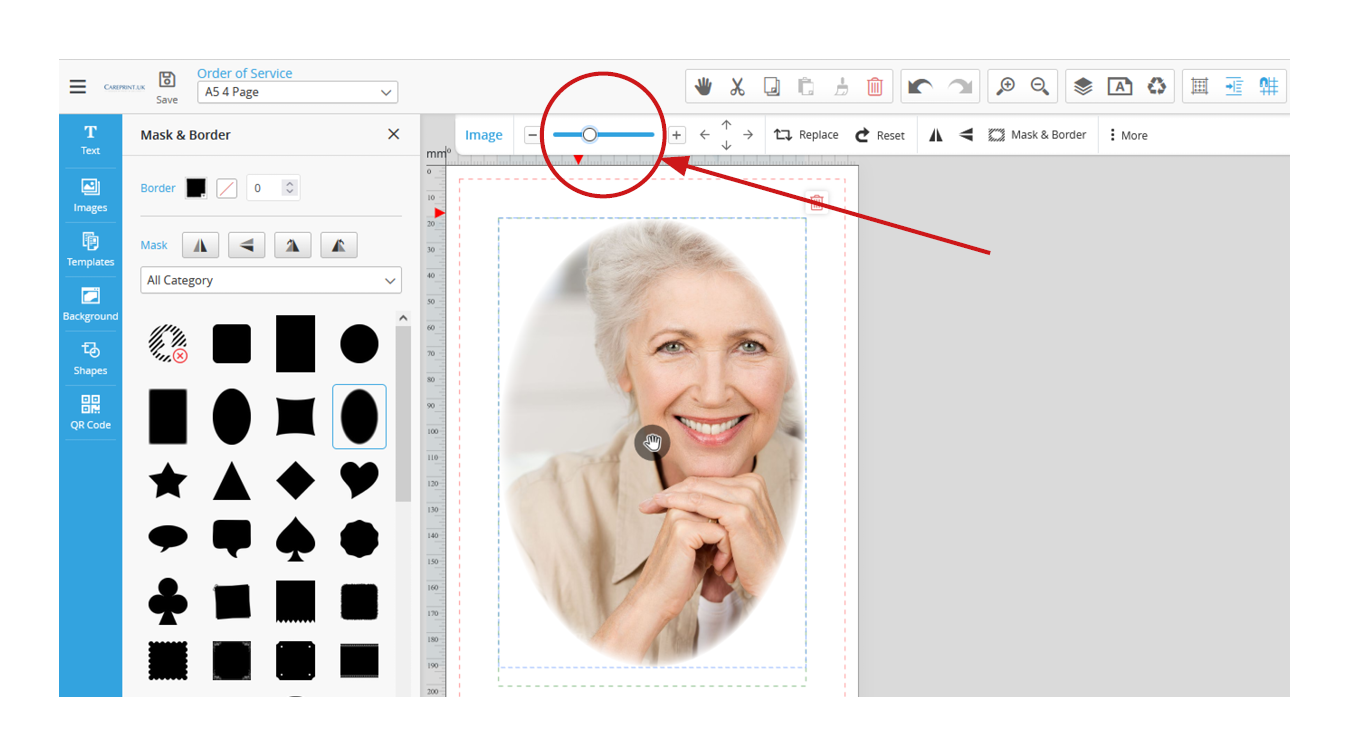
Click Mask & Border.
- Once clicked, on the left hand side a window will appear with an option for Masks and Boarders.

Select the mask you would like to use.
- For this demonstration an oval with a fade is used.

If you wish to Zoom in on an area of the photo you can use the zoom tool.
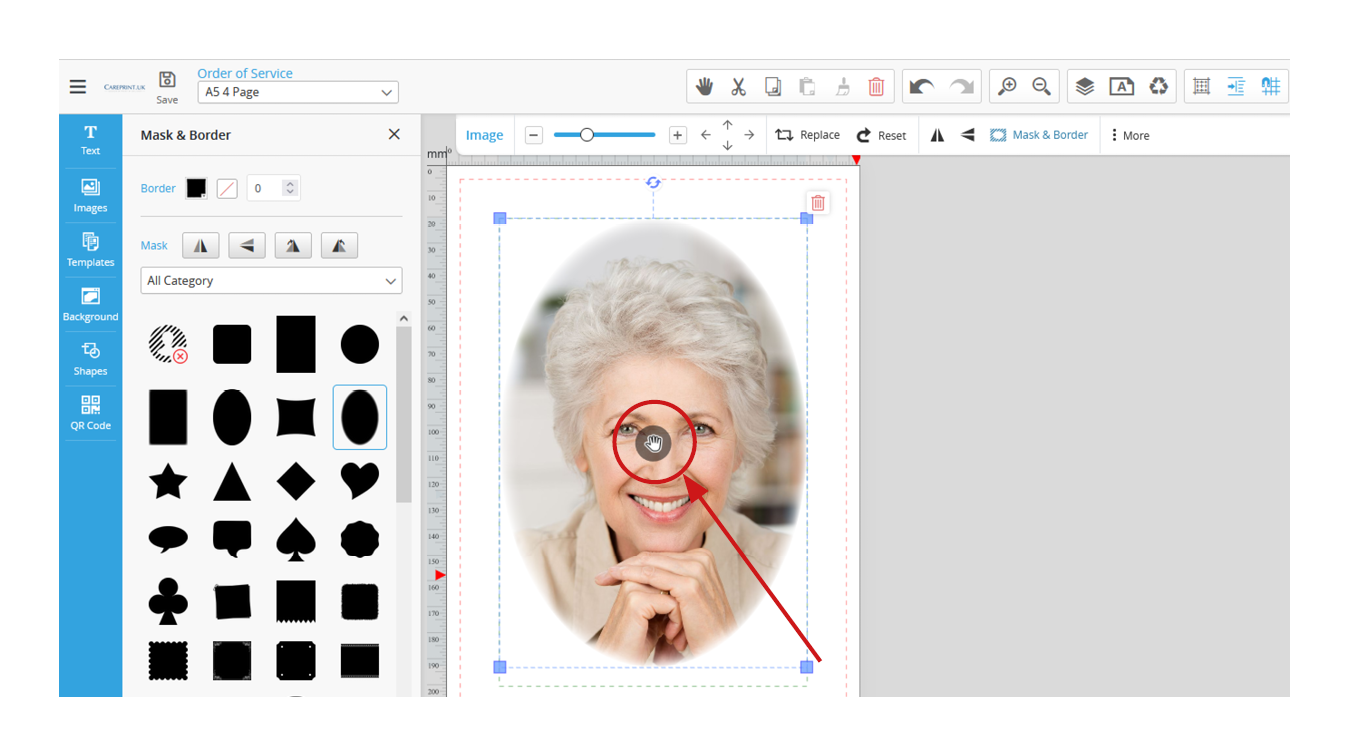
After zooming in you can reposition your image by first clicking on the hands icon in the centre of the image. Then click and drag until you are happy with its placement.
Should you wish to use a border you can first select the colour you would like...

...and then using the pt size to type in a value you would like.
- The higher the number, the thicker the line.
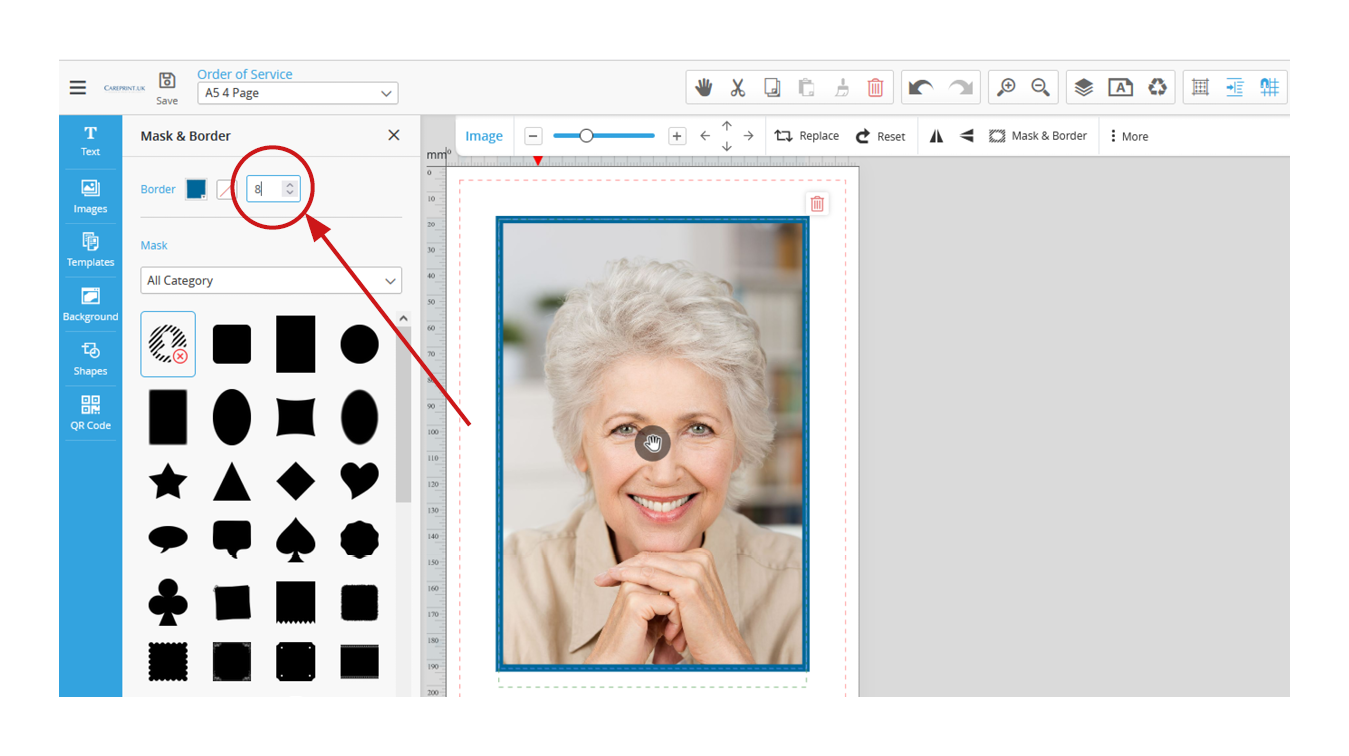
- Borders remove any mask that may have been applied.
- Currently the boarders tool only works with square and rectangle frames.
- If you wish to have a boarder on an oval picture you may need to manually add one by using the shapes tool, a guide will be available on shapes soon.