How To Add Images
This guide is to demonstrate how to add images to your designs.
It is important to use only .jpeg and/or .png image files. Using image files such as .PDF can cause issues with saving your design and will not work properly with tools such as crop, masks and positioning.
How do I add images?
Images can be added in two ways:
- In the designer
- In your account page
Adding images in the designer
When in the designer you will see the 'Tool Panel' located on the left hand side.
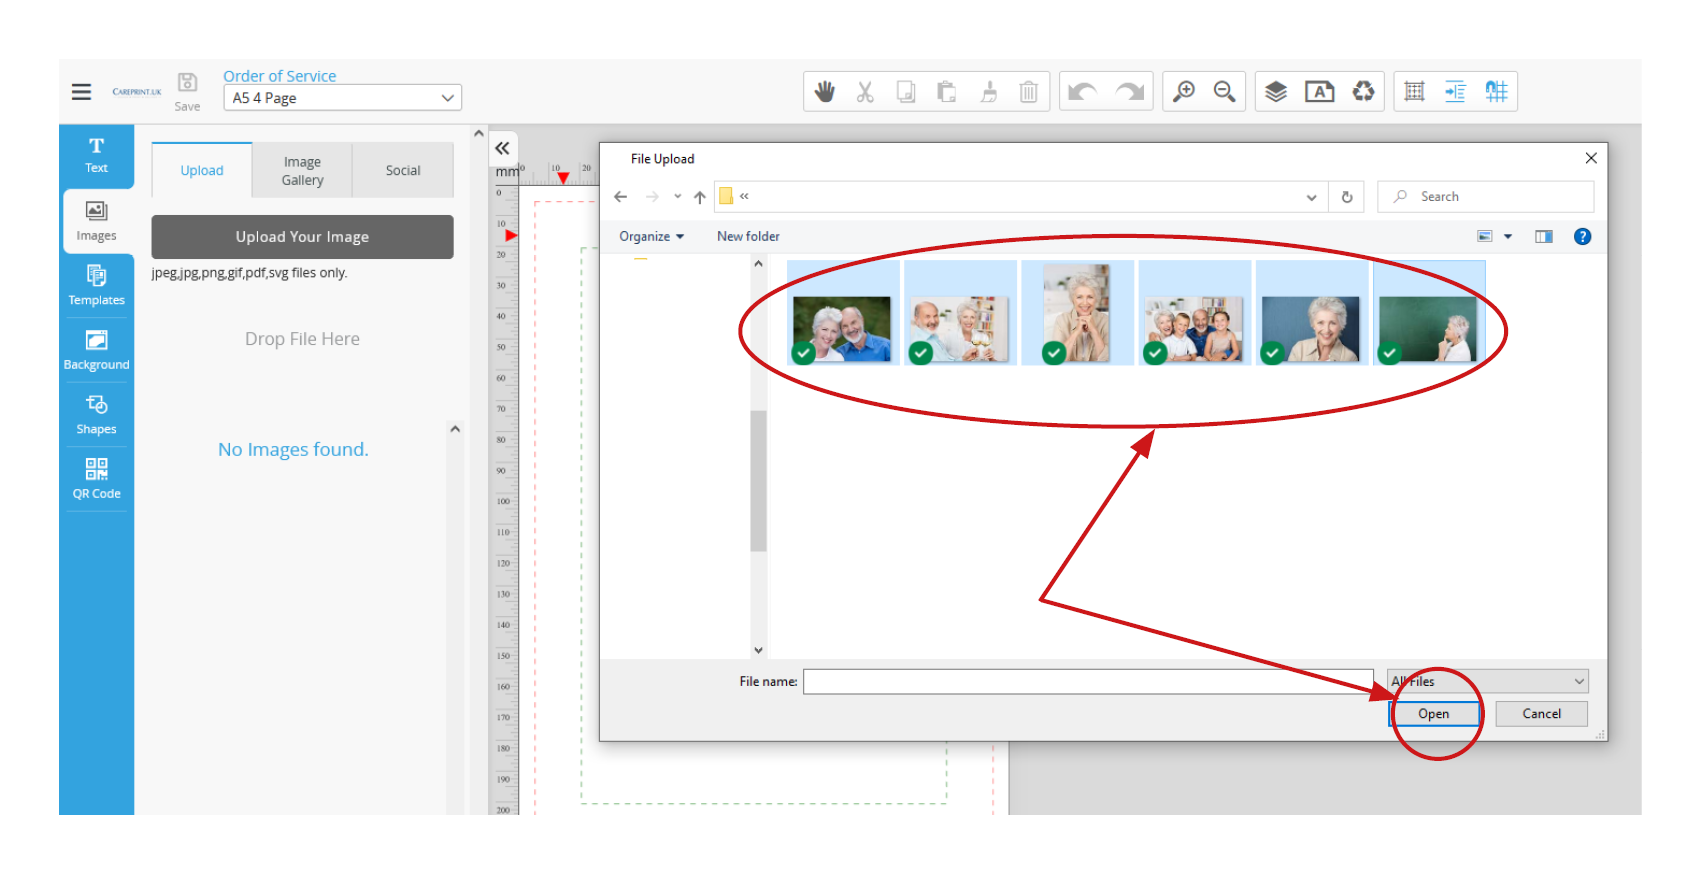
Select 'Images' and then click on the button 'Upload Your Image'.

You will then be asked to select your images.
- You will need to navigate to the folder they are located in on your computer.
After selecting the image(s), click 'Open' and wait until the upload completes.
Once uploaded you will find your image(s) located here.
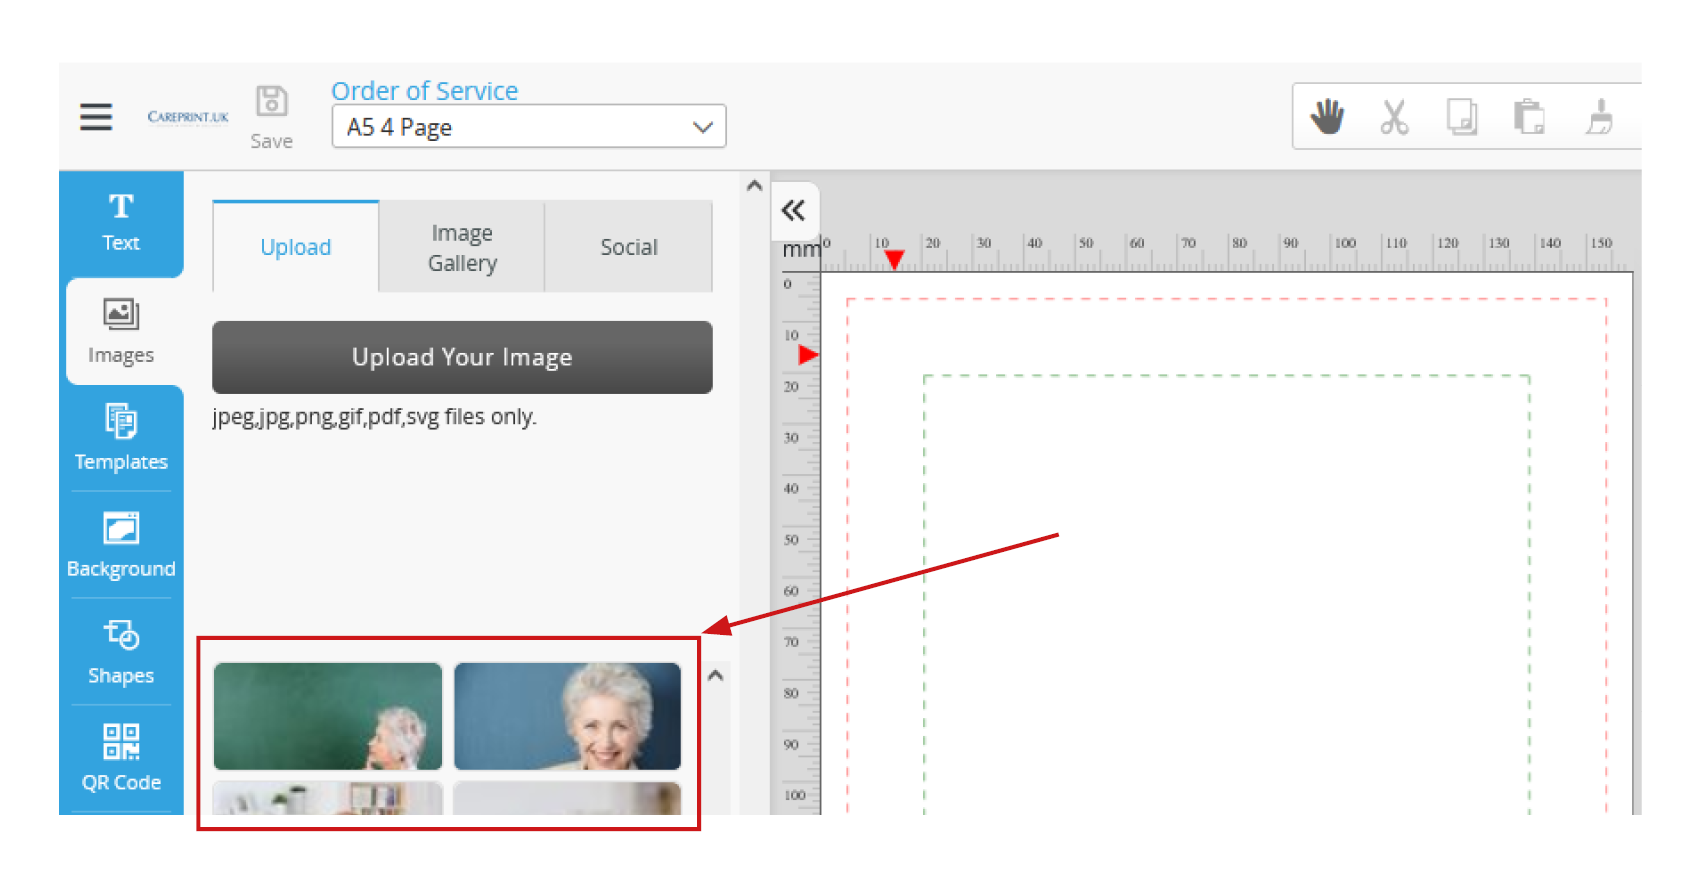
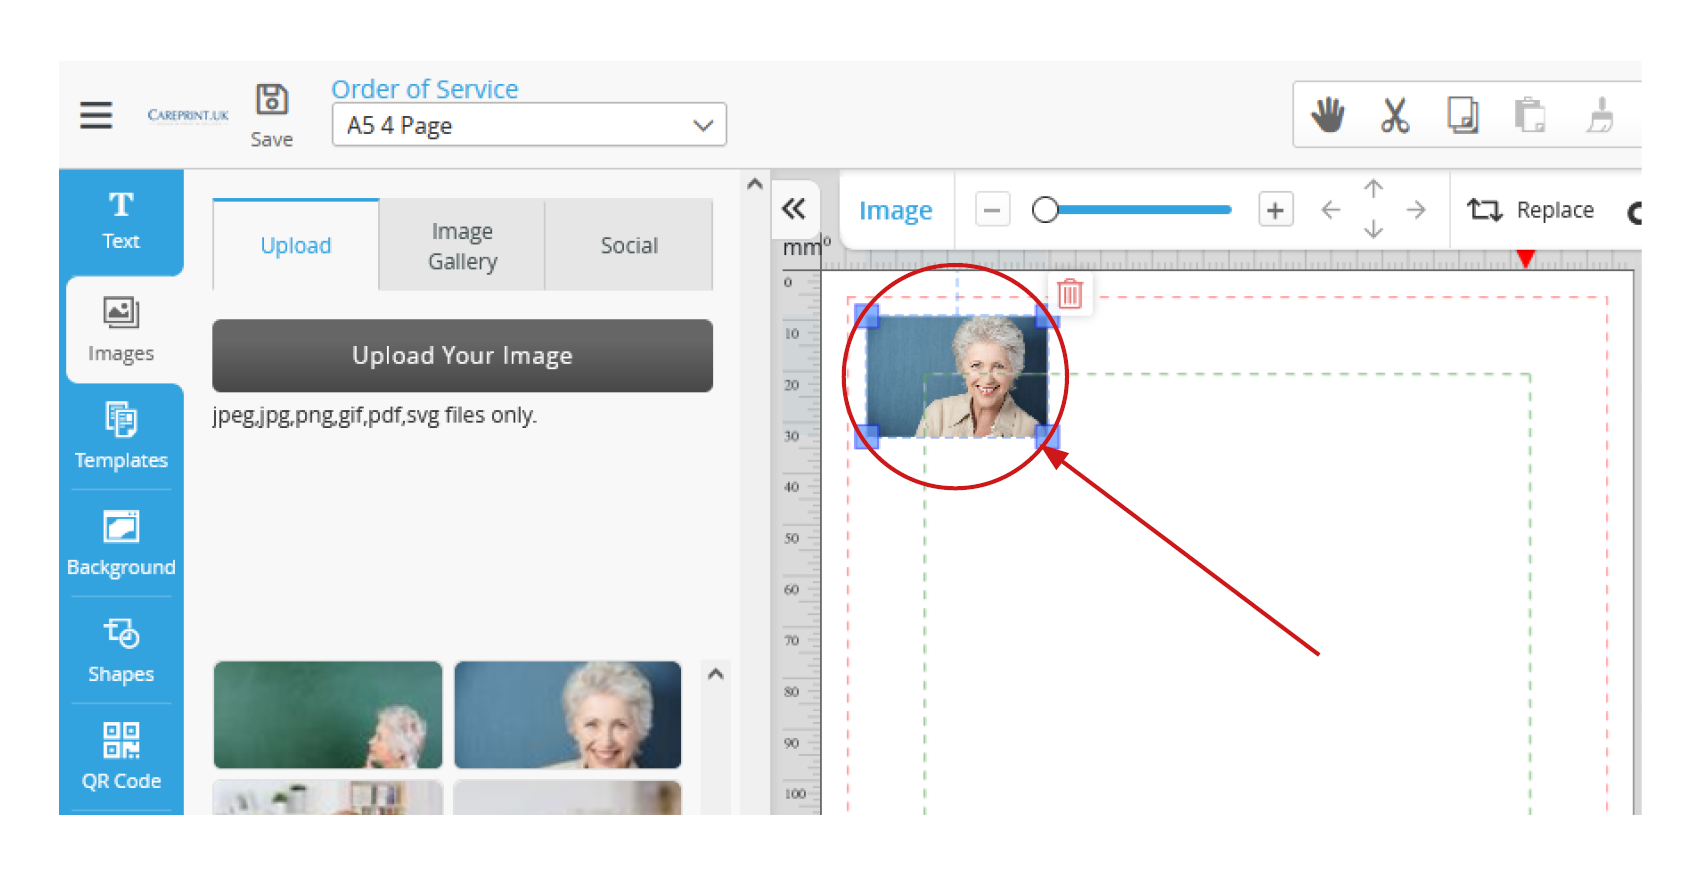
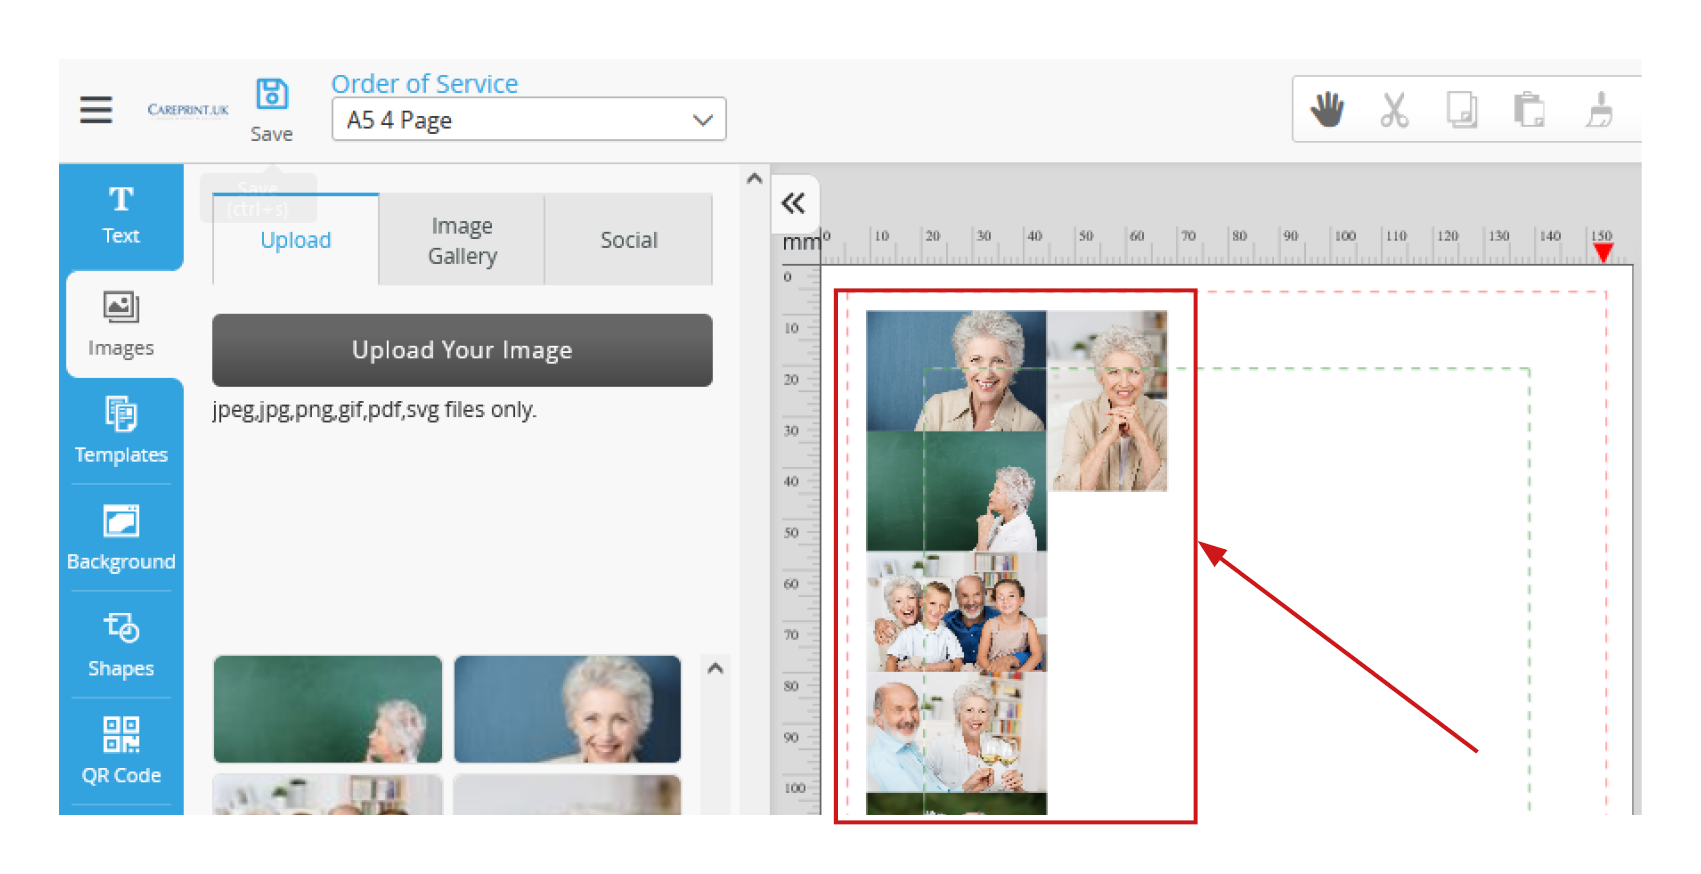
Click on the image(s) you want to use and they will be inserted here.
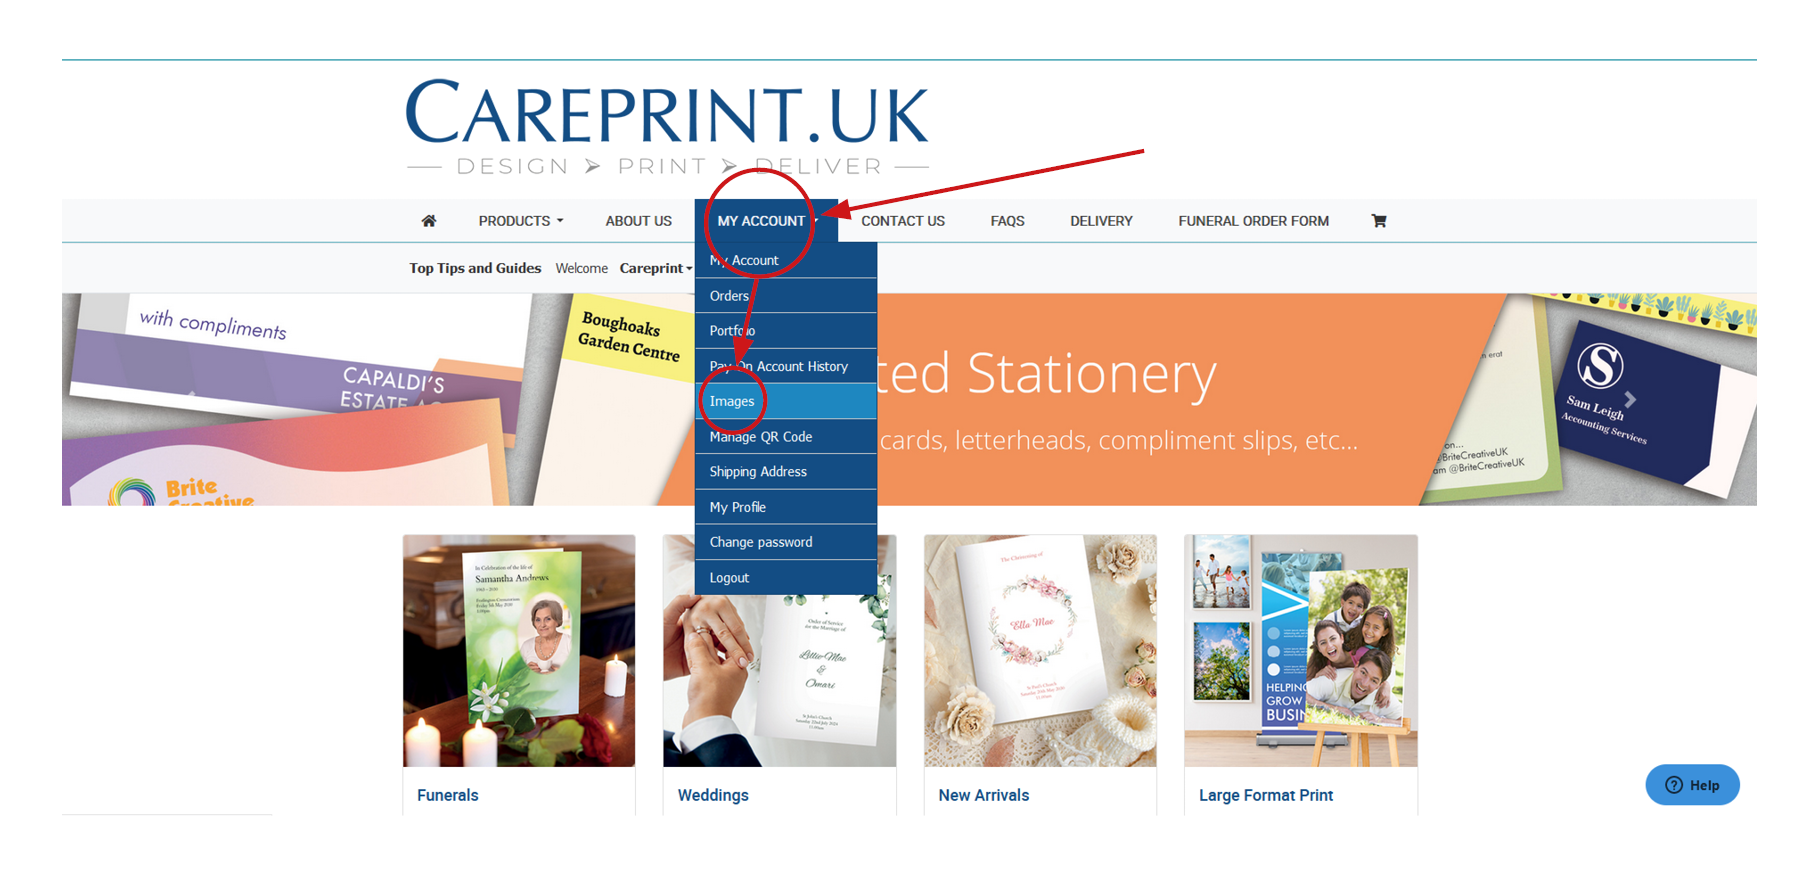
Adding images in your account page
Navigate to the tab 'My Account' and select 'Images'.
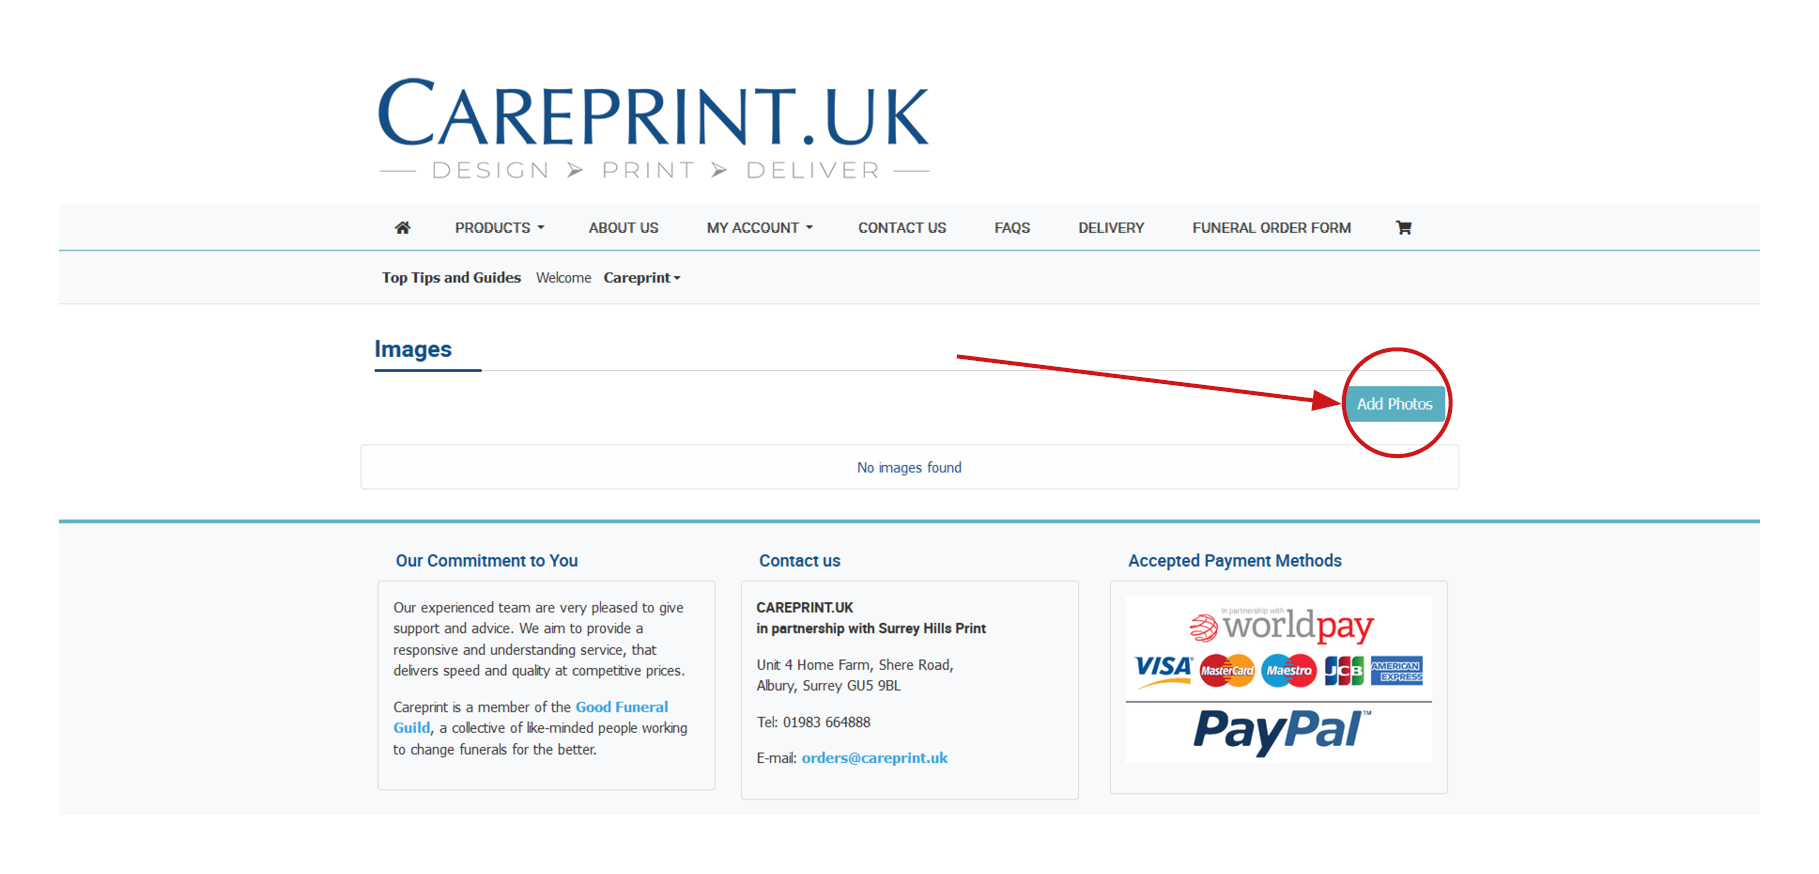
In the image tab click 'Add Photos'.
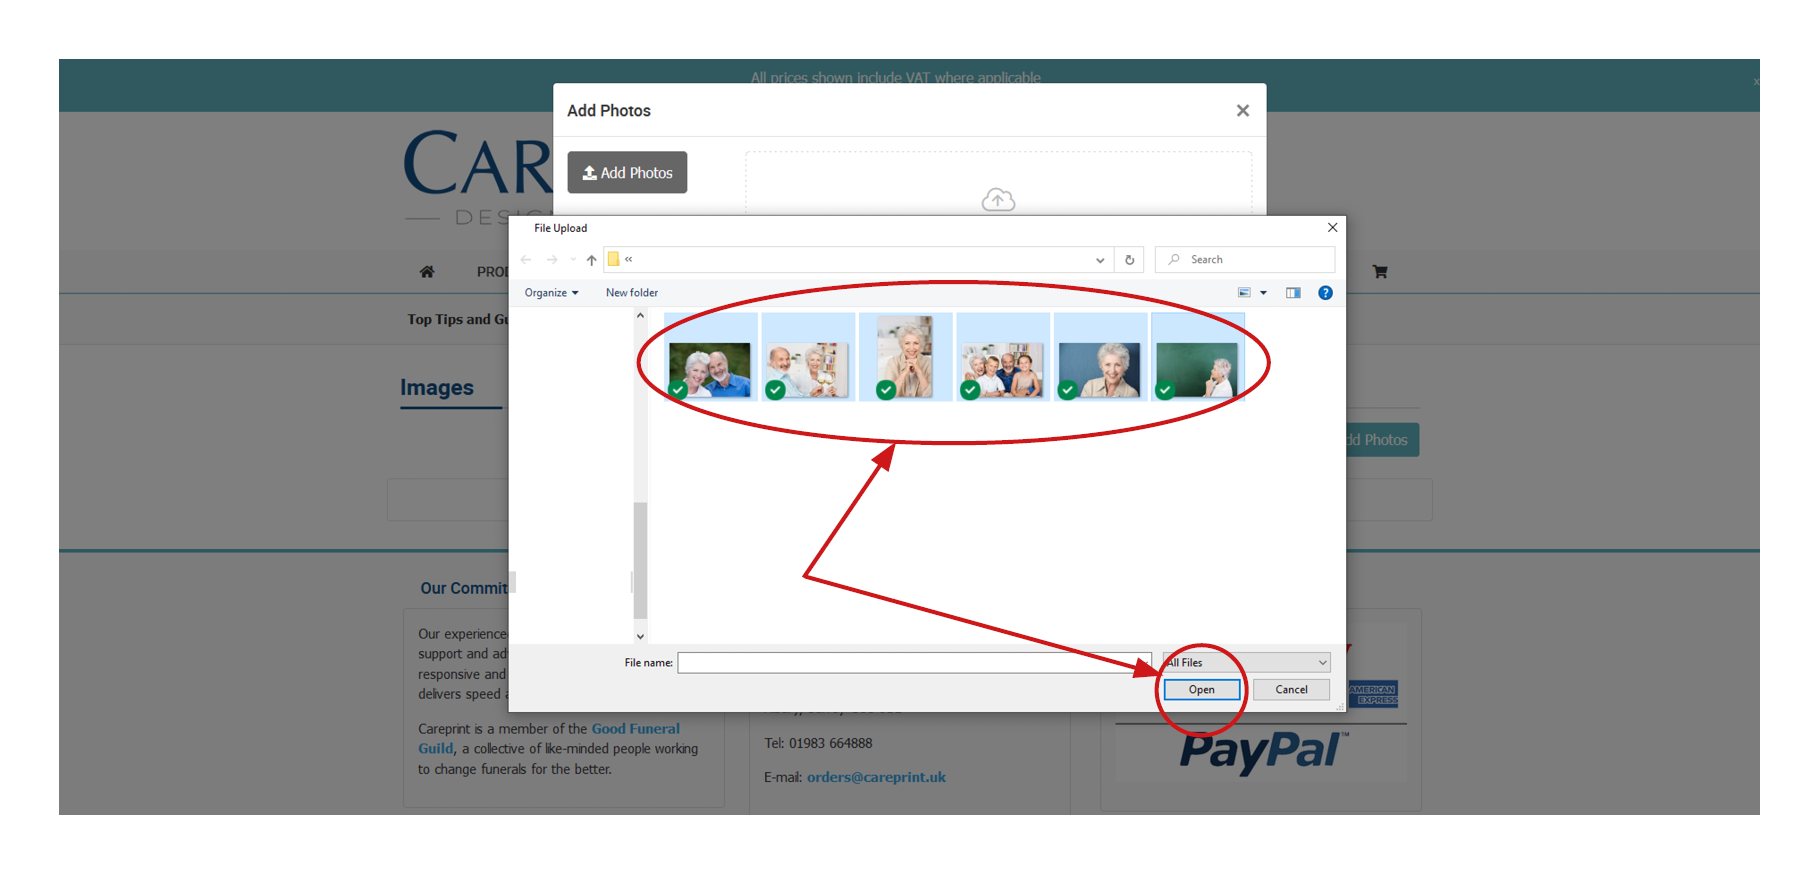
You will then be asked to select your images.
- You will need to navigate to the folder they are located in on your computer.
After selecting the image(s), click 'Open' and wait until the upload completes.
Once uploaded you will find your image(s) located here.
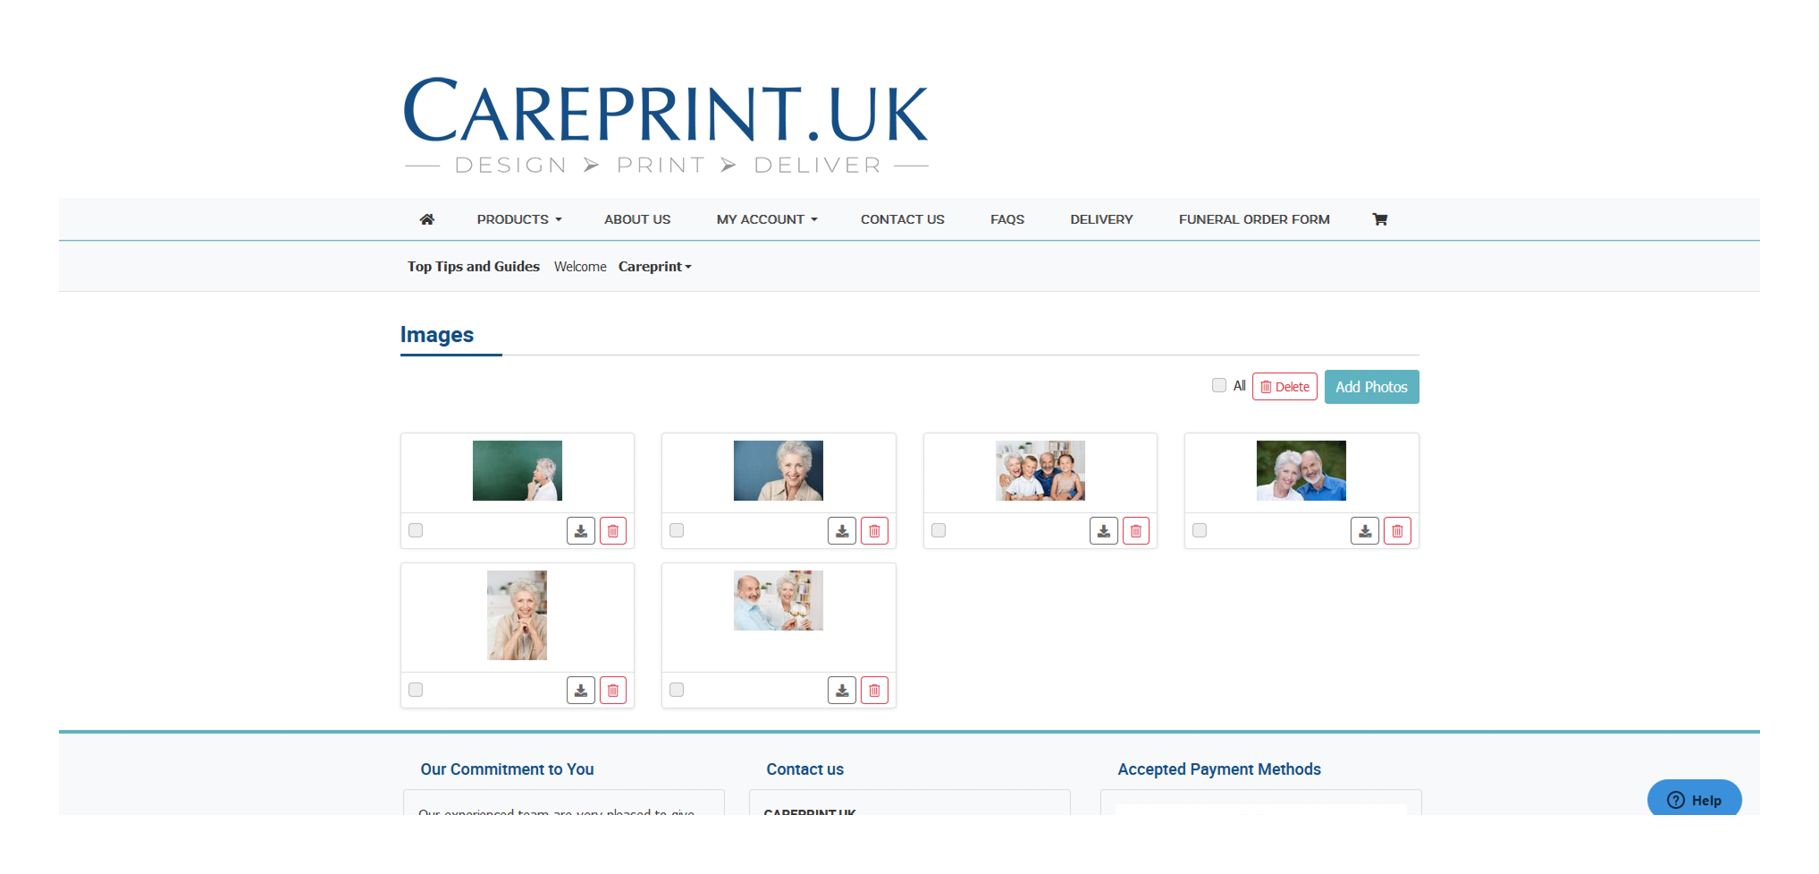
You can then select these images from your account when in the design mode of a product. They will be located under the image tab in the 'Tool Panel'.